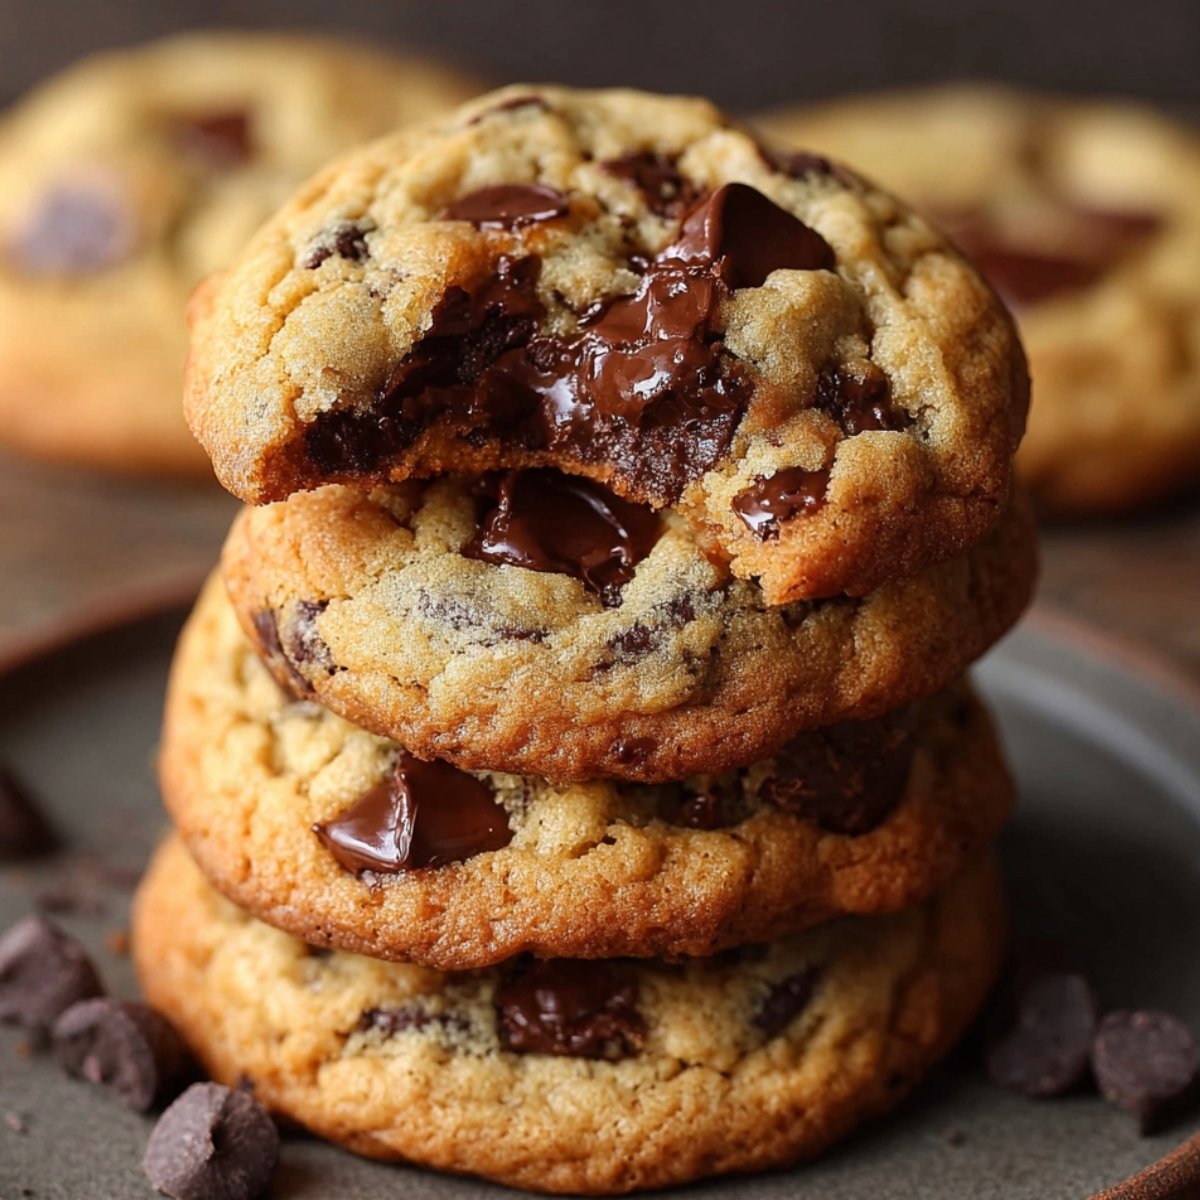
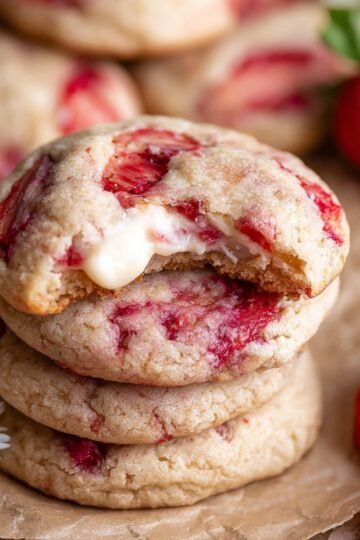
These thick, chewy chocolate chip cookies have soft, gooey centers and lightly crisp edges that make them taste like they came straight from a bakery. The secret is melted butter, extra brown sugar, and a long chill in the fridge. I first made these on a rainy Saturday afternoon when Oliver wanted to help bake, and we ended up eating half the batch warm from the oven. They're simple to make with pantry staples, and the results beat any store-bought cookie by a mile.
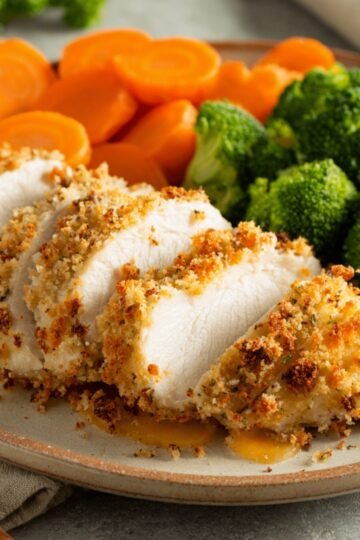
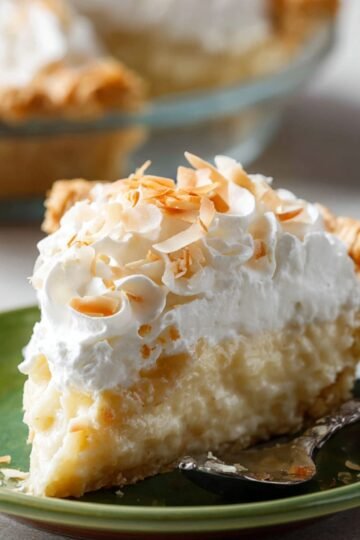
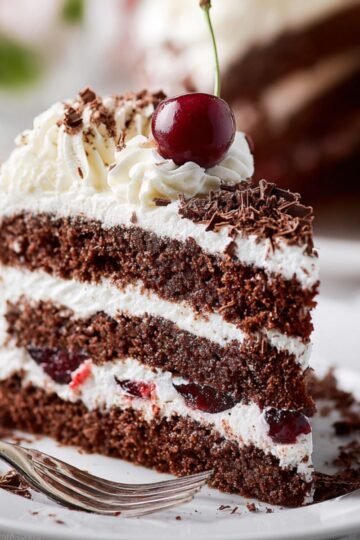
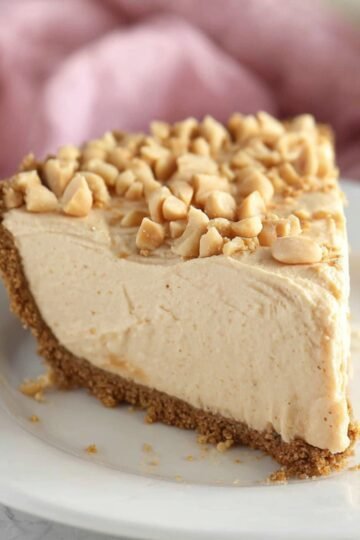
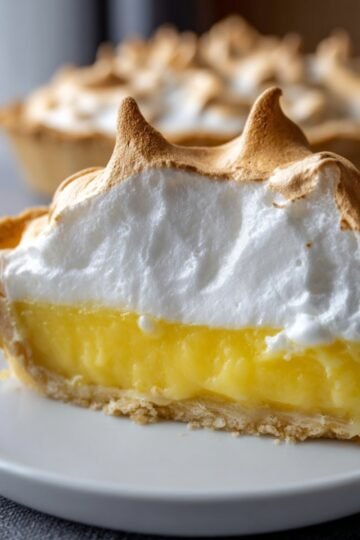
If you love rich, bakery-style treats, you'll also want to try these Coconut Cream Pie or this Black Forest Cake that my family requests every holiday season. For something a little different, these Peanut Butter Pie are just as soft and comforting.
Why You will Love This Chocolate Chip Cookies!
These soft chocolate chip cookies are everything a homemade cookie should be. They're thick enough to feel substantial, but tender enough to practically melt in your mouth. The brown sugar adds a deep, caramel-like sweetness that pairs beautifully with the semi-sweet chocolate. You don't need any special equipment or fancy ingredients, just basic pantry staples and a little patience while the dough chills.
The recipe is also really forgiving. If you chill the dough overnight, you get slightly deeper flavor. If you only have time for two hours, they still turn out amazing. You can make them extra large for a bakery-style presentation, or keep them smaller if you want more cookies to share. Either way, the texture stays perfectly chewy.
Jump to:
Chocolate Chip Cookies Ingredients
Here's what you'll need to make these thick chewy chocolate chip cookies at home.
See Recipe Card Below This Post For Ingredient Quantities
- All-purpose flour: Forms the structure of the cookies and keeps them soft and chewy. Spooning and leveling the flour prevents the dough from getting too dense.
- Baking soda: Helps the cookies rise slightly and creates those beautiful golden edges.
- Cornstarch: This is the secret ingredient for extra chewiness. It makes the cookies tender without making them cake-like.
- Salt: Balances the sweetness and brings out the chocolate flavor.
- Unsalted butter: Melted butter creates a denser, chewier texture compared to creamed butter. Let it cool for five minutes so it doesn't scramble the eggs.
- Light or dark brown sugar: Adds moisture and that deep, caramel flavor. Dark brown sugar makes the cookies slightly richer.
- Granulated sugar: Gives a bit of crispness to the edges and balances the moisture from the brown sugar.
- Egg plus egg yolk: The extra yolk adds richness and helps keep the centers soft and gooey. Room temperature eggs mix in more smoothly.
- Pure vanilla extract: Enhances all the other flavors and adds warmth.
- Semi-sweet chocolate chips or chunks: The star of the show. Chunks give you bigger pockets of melted chocolate, while chips distribute more evenly.
How to Make Chocolate Chip Cookies
These steps will guide you through making perfect bakery-style cookies every single time.
- Mix the dry ingredients: In a large bowl, whisk together the flour, baking soda, cornstarch, and salt until everything is evenly distributed. Set this aside while you prepare the wet ingredients.
- Combine the wet ingredients: In a medium bowl, whisk the melted and slightly cooled butter with both sugars until the mixture looks smooth and no sugar lumps remain. Add the egg and egg yolk, whisking until everything comes together, then stir in the vanilla extract. The mixture will look thin and glossy.
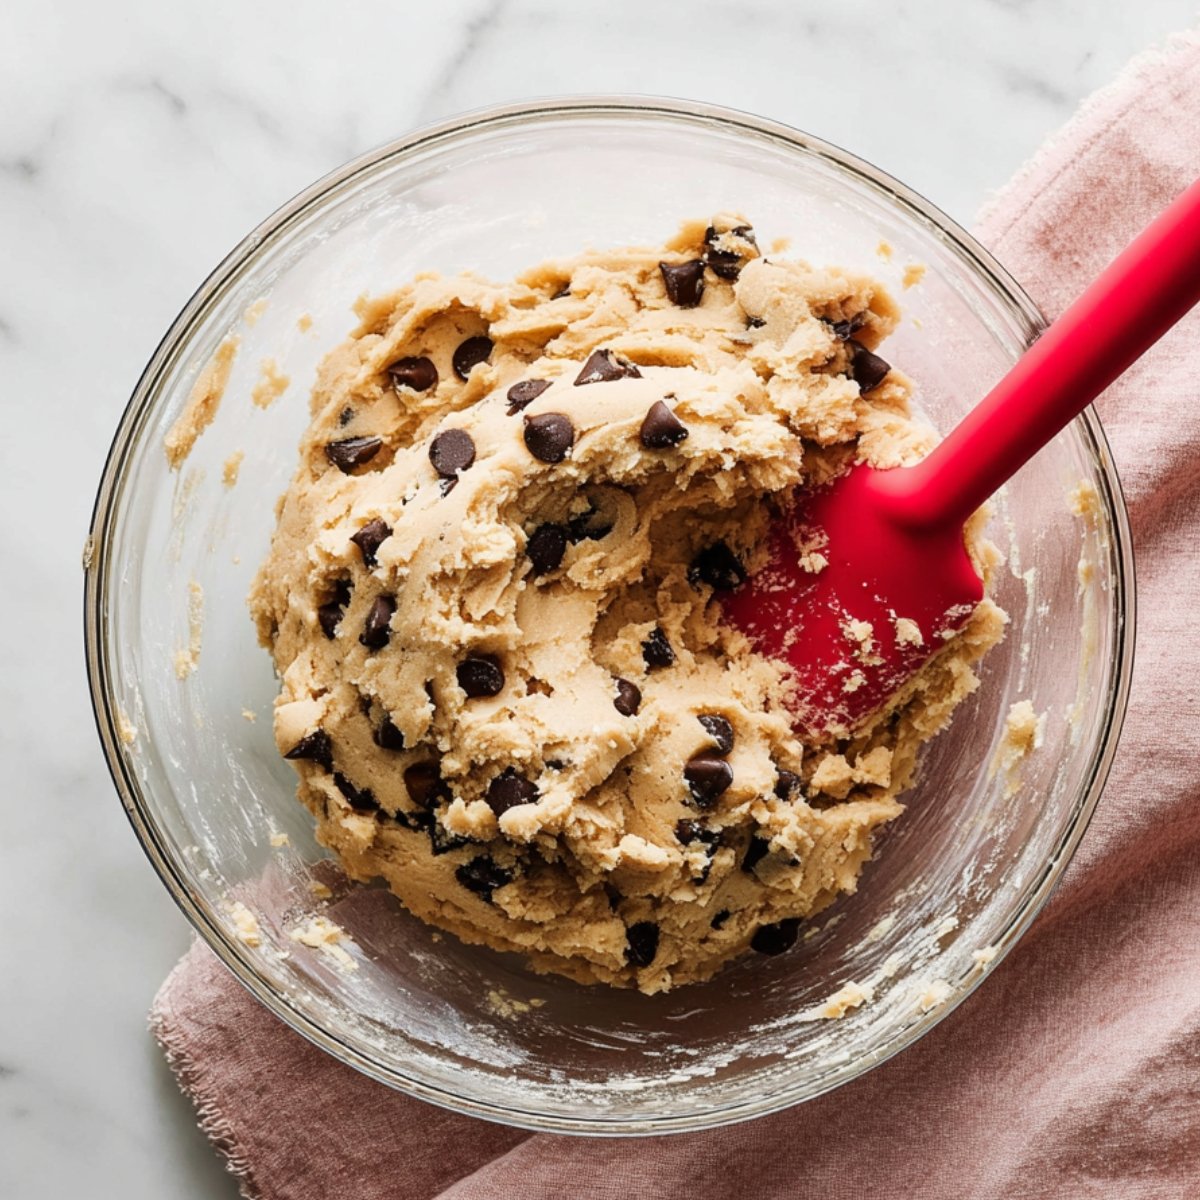
- Form the dough: Pour the wet mixture into the bowl with the dry ingredients. Use a large spoon or spatula to stir everything together until you have a thick, soft, shiny dough. Fold in the chocolate chips, doing your best to distribute them evenly even though the melted butter makes them want to slide around.
- Chill the dough: Cover the bowl tightly with plastic wrap or a lid and refrigerate for at least 2 hours, though overnight is even better. This step prevents the cookies from spreading too much and helps the flavors develop.
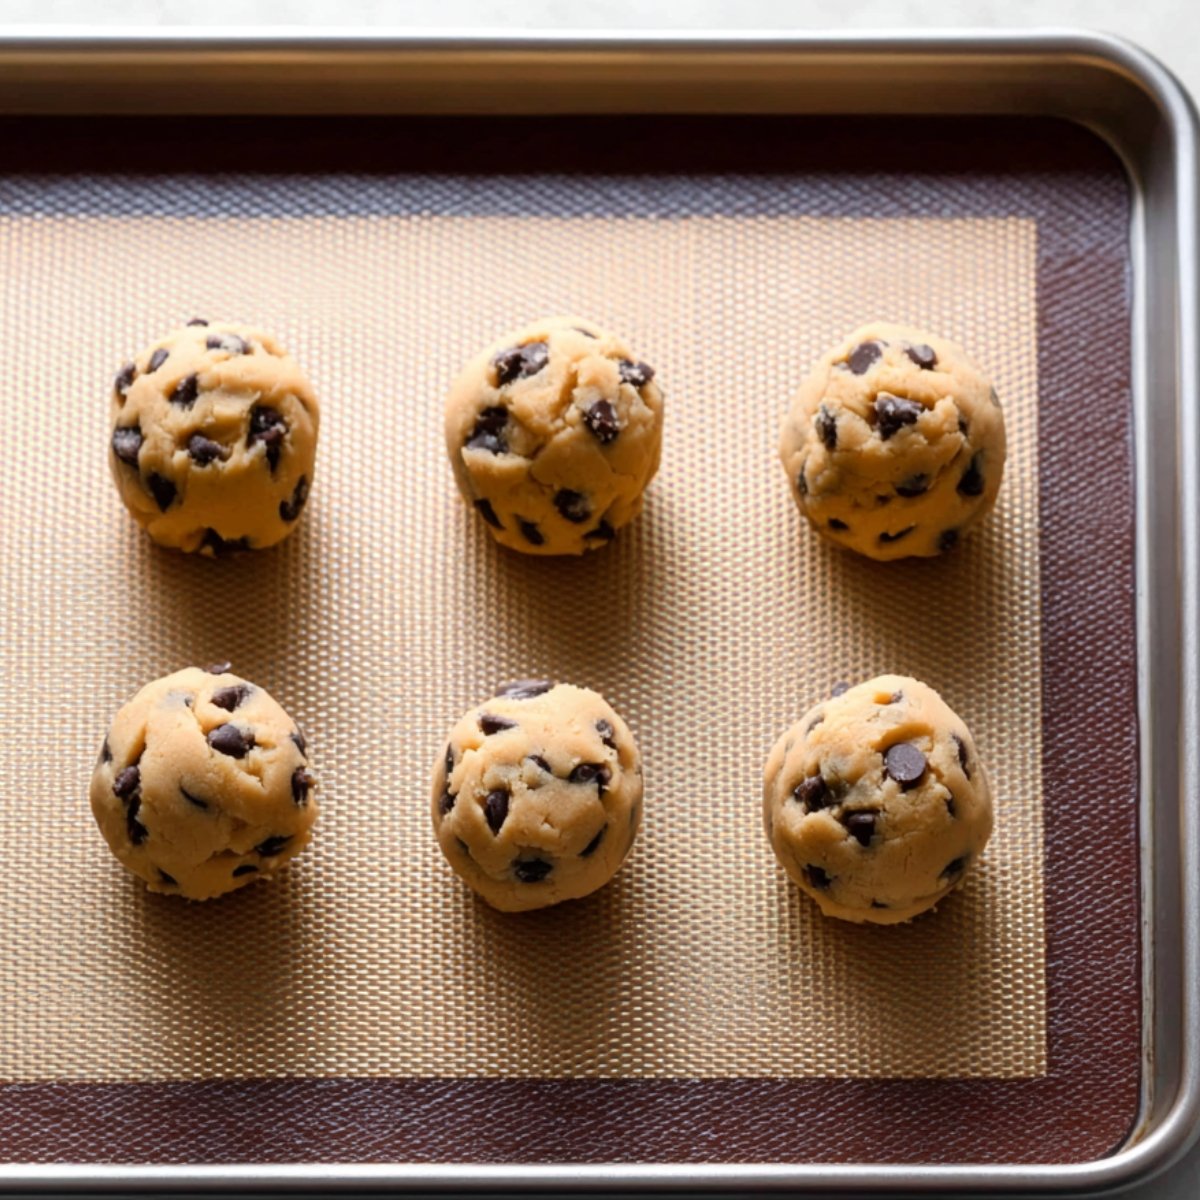
- Preheat and prep: Set your oven to 325°F (163°C) and line your baking sheets with parchment paper or silicone mats. If the dough has been chilling for more than 2 hours, let it sit at room temperature for about 15 minutes so it's easier to scoop.
- Shape the cookies: Scoop the dough using 3 scant tablespoons for extra-large cookies or 2 heaping tablespoons for medium-large cookies. Roll each portion into a ball, then shape it to be taller rather than wide, almost like a short cylinder. This helps the cookies bake up thick instead of flat.
- Arrange and bake: Place the shaped dough balls on your prepared baking sheets, spacing them about 3 inches apart. Bake for 13 to 14 minutes, until the edges look lightly browned but the centers still appear soft and slightly underdone.
- Cool properly: Let the cookies rest on the baking sheet for a full 10 minutes before moving them to a cooling rack. They'll firm up as they cool. If you want them to look extra pretty, press a few additional chocolate chips into the tops while they're still warm.
- Store: Keep the cooled cookies in an airtight container at room temperature for up to a week, though they rarely last that long in my house.
Substitutions and Variations
You can customize these homemade cookies to fit what you have on hand or your personal preferences.
Butter: If you only have salted butter, use it and reduce the added salt to a pinch. The cookies will still turn out great.
Brown sugar: Light and dark brown sugar are interchangeable here. Dark brown sugar adds a slightly deeper molasses flavor.
Chocolate: Try milk chocolate chips for a sweeter cookie, dark chocolate for something more intense, or a mix of both. Chopped chocolate bars also work beautifully and create those gorgeous melted chocolate pools.
Add-ins: Fold in chopped nuts like walnuts or pecans, or add a handful of toffee bits along with the chocolate chips for extra flavor and crunch.
Size: You can make smaller cookies using 1 tablespoon of dough, but reduce the baking time to 10 to 12 minutes and keep a close eye on them.
Equipment
Glass mixing bowls: One large and one medium bowl are perfect for keeping the wet and dry ingredients separate until you're ready to combine them.
Whisk: Essential for mixing the dry ingredients and getting the wet ingredients smooth and lump-free.
Wooden spoon or rubber spatula: Great for stirring the thick dough without overworking it.
Baking sheets: Heavy-duty sheets work best since they distribute heat evenly and prevent the bottoms from burning.
Silicone baking mats or parchment paper: These keep the cookies from sticking and make cleanup so much easier.
Medium cookie scoop: Helps you portion the dough consistently so all the cookies bake evenly. You can also use a spoon and your hands.
Cooling rack: Lets air circulate around the cookies so they cool evenly and don't get soggy on the bottom.
Storage and Make-Ahead Tips
These chocolate chunk cookies store beautifully, which makes them perfect for meal prep or gift-giving.
Room temperature: Store the baked cookies in an airtight container for up to a week. Tuck a piece of bread in the container to help keep them soft.
Freezing baked cookies: Let the cookies cool completely, then freeze them in a single layer on a baking sheet. Once frozen, transfer them to a freezer bag. They'll keep for up to 3 months. Thaw at room temperature or warm them in a 300°F oven for a few minutes.
Freezing dough: Scoop and shape the dough into balls, freeze them on a baking sheet, then transfer to a freezer bag. You can bake them straight from frozen by adding 1 to 2 minutes to the baking time.
Chilling dough: The dough keeps in the fridge for up to 3 days, so you can make it ahead and bake fresh cookies whenever you want them.
Serving Suggestions
These cookies are delicious on their own, but here are a few ways to make them even more special.
Serve them warm with a cold glass of milk for the ultimate comfort snack. The chocolate gets melty again, and the contrast between the warm cookie and cold milk is perfect.
Make ice cream sandwiches by pressing a scoop of vanilla ice cream between two cookies, then rolling the edges in mini chocolate chips or sprinkles.
Crumble a cookie over a bowl of vanilla ice cream and drizzle with caramel sauce for an easy sundae that tastes like it came from a restaurant.
Pack them in a pretty tin or box to give as gifts during the holidays or for teacher appreciation.
Expert Tips
These little tricks will help you get the best gooey chocolate chip cookies every single time.
Don't skip the chill: I know it's tempting to bake them right away, but chilling the dough really does make a difference in both texture and flavor.
Use room temperature eggs: Cold eggs don't incorporate as smoothly into the melted butter mixture. Let them sit on the counter for 15 minutes before you start.
Shape them tall: Rolling the dough balls into cylinders instead of perfect spheres helps the cookies bake up thick and bakery-style instead of flat and crispy.
Watch the baking time: These cookies look underdone when you pull them out, and that's exactly what you want. They'll continue baking on the hot sheet as they cool.
Rotate the pan: If your oven has hot spots, rotate the baking sheet halfway through baking so the cookies brown evenly.
Press in extra chocolate: Adding a few chocolate chips to the tops right after baking makes them look professional and gives you more chocolate in every bite.
FAQ
Overmixing the dough is a big one. Once you add the flour, stir just until everything comes together. Overmixing develops too much gluten, which makes the cookies tough instead of tender. Also, make sure you're measuring flour correctly by spooning it into the measuring cup and leveling it off. Scooping directly from the bag packs in too much flour. My mom always tells me that patience with the chilling time pays off, too.
Chocolate chip cookies were invented by accident in the 1930s when Ruth Wakefield chopped up a chocolate bar and added it to cookie dough, expecting it to melt and create chocolate cookies. Instead, the chunks held their shape, and the chocolate chip cookie was born. Her recipe became so popular that Nestle started selling chocolate chips specifically for baking.
These cookies stay fresh at room temperature for up to a week when stored in an airtight container. If your kitchen is really warm or humid, they might get soft faster, but they'll still taste delicious. Adding a slice of bread to the container helps maintain moisture and keeps them from drying out.
If the cookies turn out tough, flat, or dense instead of soft and chewy, you probably overmixed the dough after adding the flour. The dough should look thick and shaggy, not smooth and elastic. Once you can't see any dry flour streaks, stop stirring. It's okay if the dough looks a little rough. That actually means you did it right and the cookies will turn out tender.
Related
Looking for other recipes like this? Try these:


Pairing
These are my favorite dishes to serve with Chocolate Chip Cookies


Chocolate Chip Cookies
Ingredients
Method
- Whisk the flour, baking soda, cornstarch, and salt together in a large bowl until evenly combined.
- In a separate bowl, stir together the melted butter, brown sugar, and granulated sugar until smooth and glossy.
- Beat in the egg and extra yolk until fully blended, then stir in the vanilla extract until the mixture looks uniform and silky.
- Pour the wet mixture into the bowl of dry ingredients and stir just until a thick, shiny dough forms with no dry patches.
- Gently fold in the chocolate chips, making sure they are spread throughout the dough.
- Cover the bowl tightly and refrigerate the dough for at least 2 hours so it can firm up and bake thicker.
- When ready to bake, set the oven to 325°F (163°C) and line baking sheets with parchment paper or silicone mats.
- If the dough is very firm, let it sit out for about 15 minutes, then scoop portions and roll them into tall, thick mounds rather than wide balls.
- Arrange the dough portions on the prepared baking sheets, leaving plenty of space between each one for spreading.
- Bake for 13–14 minutes, until the edges look lightly golden while the centers still appear soft and underbaked.
- Let the cookies rest on the hot pan for about 10 minutes before moving them to a rack to cool completely and finish setting.
Leave a Reply